Building a Home in Kenya: From Buying Land to Moving In
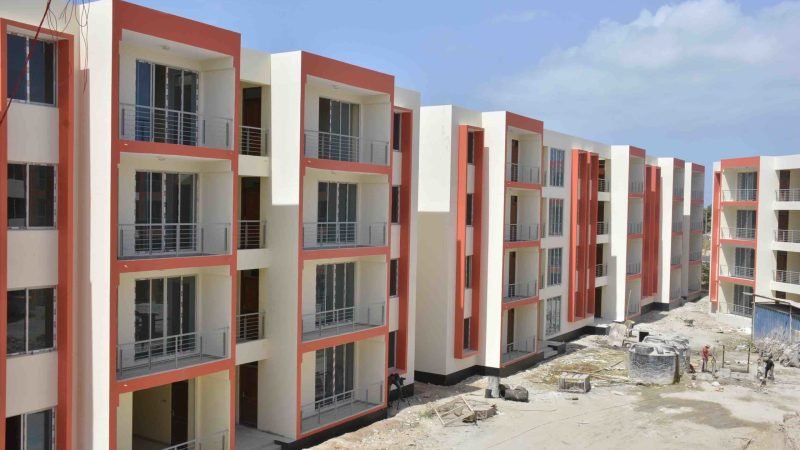
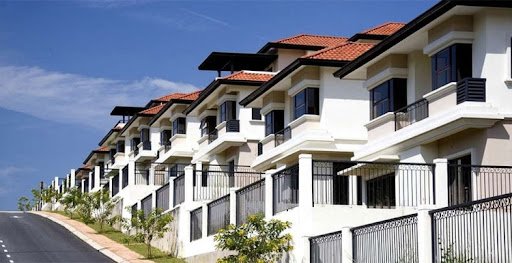
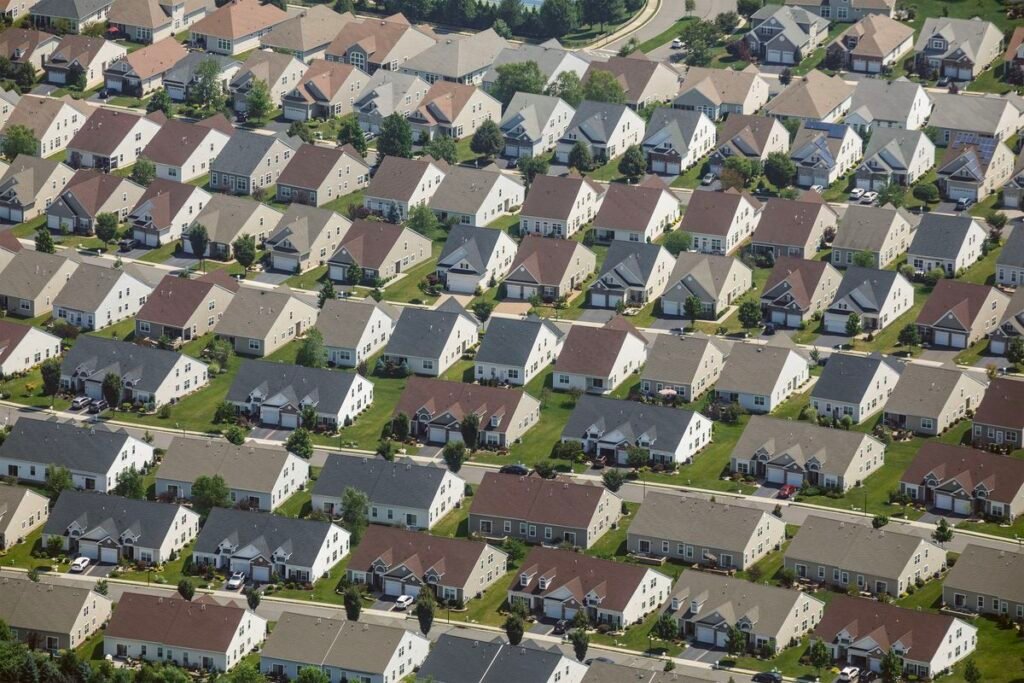
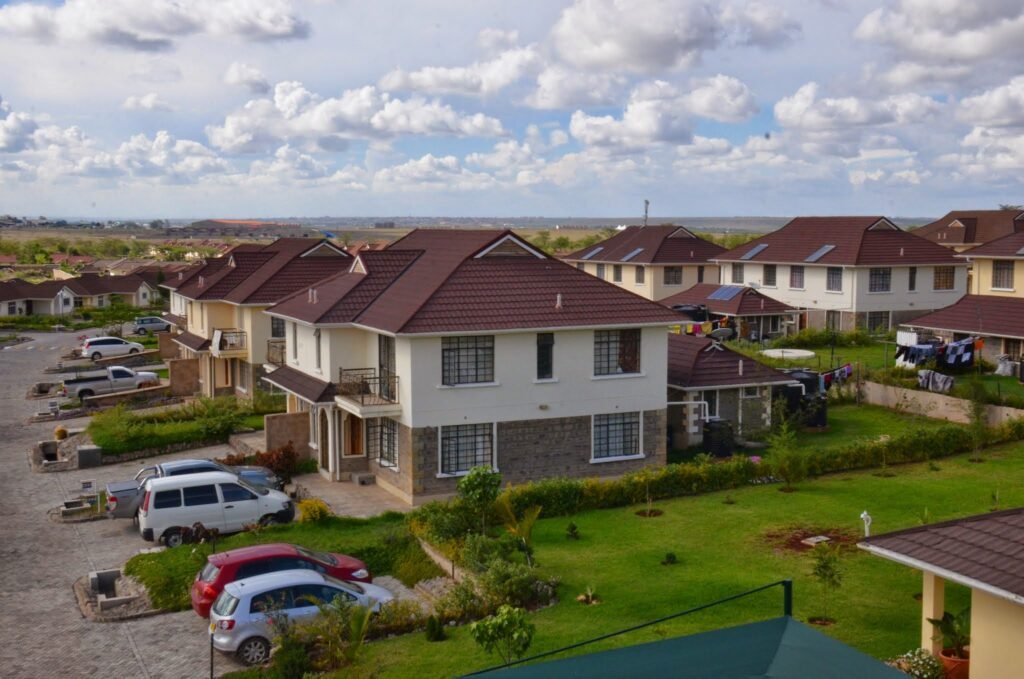
For many Kenyans, owning a home is a lifelong dream. It’s not just about bricks and mortar — it’s about freedom, stability, and legacy. But building a house in Kenya can be overwhelming if you don’t know where to start. This guide walks you through the full process — from purchasing land to turning your dream house into a reality. Step 1: Buying Land – The Foundation of Your Dream Before you build, you need land. Here’s what to consider: Location Accessibility: Is it close to the main road, school, or work? Amenities: Water, electricity, internet, shops? Growth potential: Will the area appreciate in value? Key Documents to Ask For Title deed – Confirm ownership Land search – Do it at the Ministry of Lands or via eCitizen Mutation and survey maps – Ensure the boundaries are correct Land rates and clearance – Confirm there are no pending charges Pro Tips Avoid verbal agreements Visit the site in person — don’t rely on photos Use a lawyer for agreements and due diligence Step 2: Planning Your House – Design Meets Budget Once you own the land, it’s time to think about your house design. Types of Homes Common in Kenya: Bungalows – Simple and popular in rural areas Maisonettes – Two floors, good for space-saving Apartments or Flats – Ideal for rental income or urban areas What You Need: Architectural plans (designed by a registered architect) Structural drawings (from a structural engineer) Bill of Quantities (BoQ) – A detailed cost breakdown Important Considerations: Design based on your budget, lifestyle, and family needs Think about future expansion and water harvesting Choose sustainable designs that save on long-term costs Step 3: Get Approvals – Building Legally Before you lay your first stone, you must get approvals. Where to Go: County government – Submit your building plans NEMA (for large-scale projects) NCA (National Construction Authority) – Register your project and contractor Why It Matters: Avoid demolition or fines Protect your investment legally Makes it easier to sell or mortgage in future Step 4: Construction – Breaking Ground Time to build. Construction is typically done in phases: Site clearance and excavation Foundation and slab Walling and roofing Plumbing and electrical Interior finishes – plaster, paint, tiles, doors Who You’ll Need: Contractor or fundi Site manager (optional) Mason, plumber, electrician, carpenter, painter Managing Your Budget: Use a BoQ to avoid overspending Buy materials in bulk Always supervise or hire someone you trust to supervise Step 5: Moving In – The Final Touches You’re almost there. The final steps include: Water and power connection Septic tank or sewage connection Landscaping and fencing Furniture and interior setup Then — you move in. Things to remember: Get an occupation certificate from the county Keep all receipts and documents for records Install security features (gates, CCTV, grills) Common Mistakes to Avoid Buying land without verifying the title Starting construction without approvals Choosing cheap over quality (especially materials) Poor budgeting or relying on word-of-mouth costing Not having a contingency fund (plan for at least +15%) Final Word Building your own home in Kenya is an exciting and rewarding journey — but it takes planning, patience, and professionalism. From finding the right piece of land to watching the final coat of paint dry, every step matters. Whether you’re building to live, rent, or sell — do it right the first time.
Building a Home in Kenya: From Buying Land to Moving In Read More »